How I Built Reclip and Learned TypeScript

I'm a self-taught web developer. I occasionally post summaries of my projects and what I learned from them. Thanks for tuning in! ❤
Maybe “built” isn't the right word, as it's still an ongoing project. But I just released the first version of it, so I decided that it's a great opportunity to share my learnings. Especially after my tech stack has somewhat changed since my last project, so I could explore and learn a new technology called TypeScript.
TypeScript? JavaScript on steroids.
TypeScript is a programming language. Its syntax builds on top of JavaScript, by introducing types which are typical for object-oriented programming languages. These types should allow developers to find mistakes before running your code.
JavaScript uses dynamic variables, which can change their type. TypeScript introduces static types, which won't allow variables to change their type during runtime.
JavaScript's in built types are also available in TypeScript, such as number, string, boolean, symbol, null, undefined, object. TypeScript also allows you to create your own types and not only that, it comes with a few more types such as enum, never, tuple, array, union, any, void and never.
All this helps the code to become more structured, as one variable will always correspond to one type. The code becomes more bulletproof, no wrong types can be passed into components or functions, which could also save your app from crashing when a user inputs wrong data.
If you want to find out more about TypeScript, I recommend reading this great blog post by Sergii Kirianov → Don't be afraid of TypeScript
Tech Stack for Reclip
TypeScript
TypeScript was the newest technology in my tech stack that I haven't used before. I took a course beforehand on Scrimba which introduced me to the basics of TypeScript and its syntax. This was enough to get me started with this project and get my hands dirty in the “wilderness” aka building a new project from scratch.
React
React isn't my go-to frontend framework, I love using Vue and Nuxt more. Recently, I got a job where React is the frontend framework of choice, so I decided to use it in this project as well to get better at it. I haven't worked with it a lot before, so I thought this project would be a good opportunity for it.
Tailwind CSS
Something familiar that was in this project for me was Tailwind. It's my go-to CSS framework and I love it. I believe it's even better to use with React than Vue, so I had no intentions of choosing another CSS framework or using only raw CSS.
FFmpeg
FFmpeg enables video & audio record, convert and stream right inside browsers. It's definitely the most important node package I have to work with and understand for this project. It's basically the brain of the editor. I already tried its vanilla version half a year ago. This time I used WebAssembly and JavaScript port to allow editing directly on user's device without any external servers in play.
What is Reclip about?
Reclip is an editor that allows to crop videos from 16:9 ratio (used on YouTube, Twitch) to 9:16 ratio (used on TikTok, YouTube Shorts). This is the main functionality of the first version of the editor. It just crops your video wherever you want it to do so. This is also what most of the other editors already do.
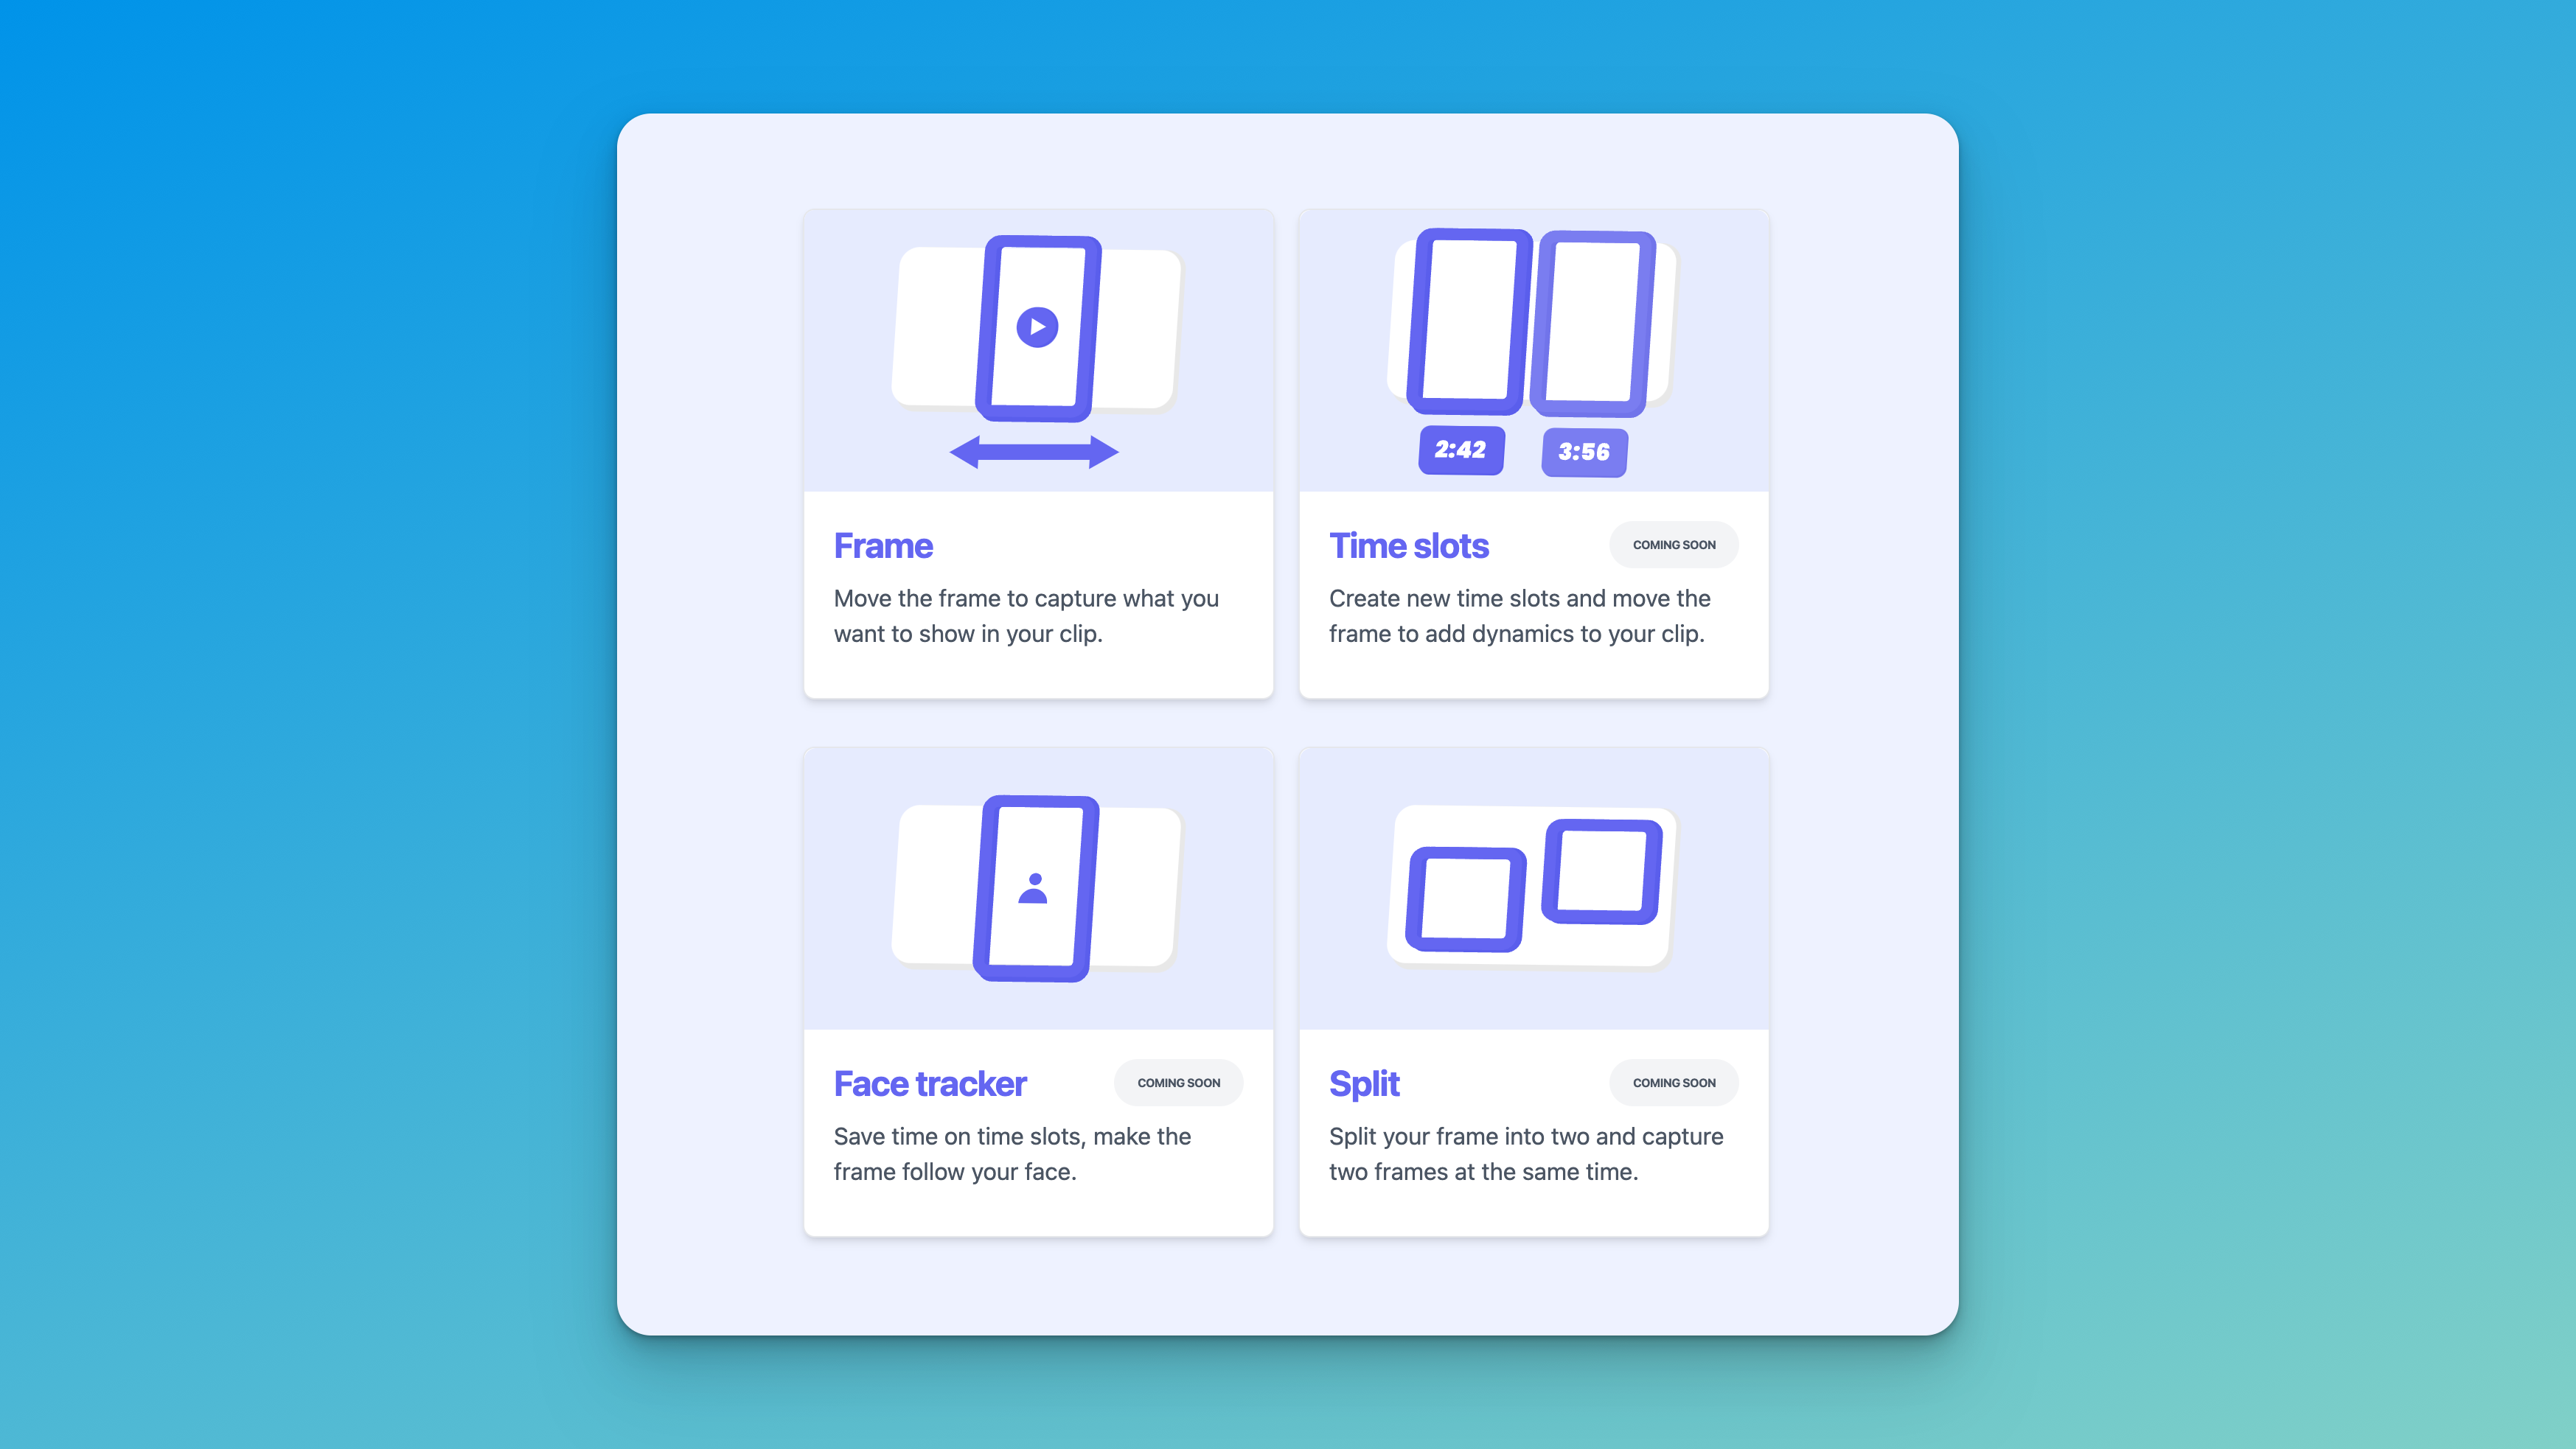
The problem is that so much content just gets thrown away as you crop from horizontal to vertical. The mission of Reclip is to crop the content in a way that the most important stays constantly in the frame. This will be realized using the following features.
For more information or better readability, check out → Reclip
File Uploader (TypeScript Example)
The first thing that you see when opening the Reclip editor is the file uploader, so I wanted to showcase how I used TypeScript to build this component.
type FileUploaderProps = {
    inputVideo: File | null | undefined
    setInputVideo: (video: File | null) => void
}
First, we define types for properties the component will take in. inputVideo is a state that equals undefined in the beginning, but after the user chooses a video can only be null or of type File. setInputVideo is just a setter for our state that takes in exactly the two values I mentioned before.
function FileUploader({ inputVideo, setInputVideo }: FileUploaderProps) {
  const hiddenFileInput = useRef<HTMLInputElement>(null)
  const [fileName, setFileName] = useState<string>('')

  //...
}

export default FileUploader
After declaring the types for our props, our component will only take in these props if its values have the appropriate type.
We also add two hooks:
Reference to the hidden file input. I wanted to style the input differently (and overcomplicate things), so we need it. As you can see, type is declared differently in this case compared to our previous snippet. It follows this formula for all types of hooks:
hook<type>(default value).State of the file name. Again I wanted to display the name, but because we hide the default file input, it has to be saved separately. In this case, we're using another hook, but the syntax is the same as for our previous reference.
return (
        <div>
            {inputVideo ? (
                <div className="flex items-center px-4 py-2 bg-gray-100 rounded-sm">
                    <button
                        className="button mr-5 rounded-full"
                        onClick={handleClick}
                    >
                        Change
                    </button>
                    <p className="font-bold text-sm overflow-hidden">
                        {fileName}
                    </p>
                </div>
            ) : (
                <div className="flex flex-col">
                    <img
                        className="w-1/2 h-1/2 mx-auto"
                        src="/img/upload-video.svg"
                        alt="Upload video"
                    />
                    <button
                        className="button highlight mt-20"
                        onClick={handleClick}
                    >
                        Choose video
                    </button>
                    <p className="mt-2 text-center text-xs text-gray-600">
                        Supported format <span className="font-bold">MP4</span>{' '}
                        | Max file size <span className="font-bold">50MB</span>
                    </p>
                </div>
            )}

            <input
                type="file"
                className="hidden"
                ref={hiddenFileInput}
                onChange={handleChange}
                accept=".mp4"
            ></input>
        </div>
    )
Now we add some JSX and Tailwind CSS, of course no TypeScript, so no types here.
const handleClick = () => {
    hiddenFileInput?.current?.click()
}
This is fairly interesting, as earlier we declared hiddenFileInput's type as HTMLInputElement. It's an interface that comes from the DOM and can be an HTML input element or null. Because we can't click on a null value, we add optional chaining ?. to check that we're safe to click on it.
const handleChange = (event: React.ChangeEvent<HTMLInputElement>) => {
        const fileUploaded = event.target.files?.[0]
        if (fileUploaded !== undefined) {
            if (fileUploaded.size <= 52_428_800) {
                setInputVideo(fileUploaded)
                setFileName(fileUploaded.name)
            } else {
                alert('File size is too big!')
            }
        }
    }
At last, we want to check when a file is selected. We also need to retrieve the data, so we have to pass an event handler as a parameter. There are multiple event handler types available by React, so you need to be careful to select the right one. Don't worry, you'll be notified by your IDE if you use the wrong one. In our case, it's ChangeEvent<HTMLInputElement>.

That's it, our file uploader is ready! I hope you could understand TypeScript better by means of this example.
Thanks for reading! ❤️ This article is part of the #4articles4weeks challenge. If you want to be the first to see my next article, follow me on Hashnode and on Twitter!